In the digital age, with switching locations and offices frequently, it may be necessary to uninstall a specific printer driver or printer port under Windows 10. However, it wouldn’t be Windows if that would work flawlessly under all circumstances.
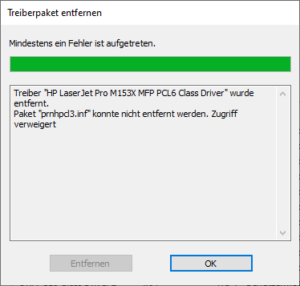
In my case, Windows 10 threw up an error message which read “Driver cannot be uninstalled. The printing queue is not empty.“ or “The driver is currently being used.“ (I translated this from an actual German error message, so it could read different in English versions.)
Here is what to do about that.
I assume you already tried the following steps with no success (you should try these first if you did not encounter a problem and just want to get rid of your printer driver):
- You use Windows with a user which has administrative privileges.
- You tried to uninstall the printer driver by uninstalling it from the Control Panel (search for a software which is named like your printer or printer manufacturer).
- You went to Settings > Devices > Printers & Scanners and removed the devices from there (select the device, click “remove device”). Sometimes this step is required before uninstalling the driver from the Control Panel > Software area.
Solution 1: Uninstall printer driver / port from print server properties
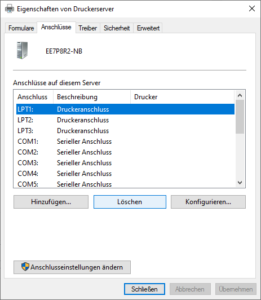
- Open the print server settings by going Settings > Devices > Printers & Scanners > scroll down until you reach “print server properties”
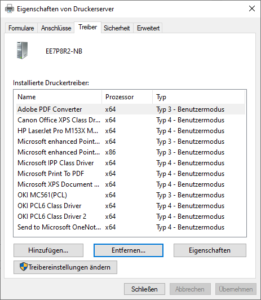
- Go to tab “drivers” and select the driver you want to delete
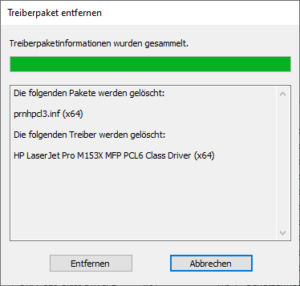
- Click “delete“
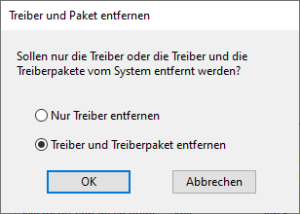
- Select “delete driver and driver package“
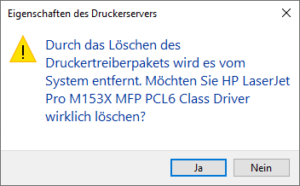
- A message should pop up telling you which driver will be deleted, press “ok“
The gallery below shows the process (in German, but the windows will look the same in English versions).
Solution 2: Delete printer driver / port from the windows registry
In case Solution 1 did not work and generated an error message like the one cited above, you can hard remove the pronter driver and ports from the Windows 10 registry directly (this will work, promise, original source here).
- Go to the “Search” bar, type “regedit” and start the application
- Navigate to HKEY_LOCAL_MACHINE\SOFTWARE\Microsoft\Windows NT\CurrentVersion\Print\Printers\
- Select the printer you want to delete and press “delete” (before doing that it is recommended to export the registry entry via “File > Export“
- There may be additional entries which can be deleted under
- HKEY_CURRENT_USER\Software\Microsoft\Windows NT\CurrentVersion\Devices\
- HKEY_CURRENT_USER\Software\Microsoft\Windows NT\CurrentVersion\PrinterPorts\
- HKEY_LOCAL_MACHINE\SYSTEM\ControlSet001\Control\Print\Printers\
- HKEY_LOCAL_MACHINE\SYSTEM\CurrentControlSet\Control\Print\Printers\
- To delete printer ports go to HKEY_LOCAL_MACHINE\SYSTEM\CurrentControlSet\Control\Print\Monitors\Standard TCP/IP Port\Ports\
- There may be additional relics of drivers under “HKEY_USERS“, just use the “Search” and search for your printer or manufacturer name to search the registry.
- After all that, go to the Task Manager > Tab “Services” and look for the Spooler service. Restart the service by right-clicking on it, then “restart“. This will effect the registry changes to the system.
That’s it, now everything should be settled. Please note that the actual driver files will remain on your harddrive if you follow these steps, but that shouldn’t be a problem. To manually remove the driver files is more complicated, find a comprehesive guide here.

